
Making Instant Pot coconut yogurt at home is a delightful way to enjoy a creamy, dairy-free treat right at home. This guide will take you step by step through the process so you can make smooth, tangy coconut yogurt with confidence every time.
The Story & Intro
A Cozy Kitchen Memory
Growing up just outside Bath, England, I remember the comforting aroma of homemade yogurt wafting through our kitchen. Now, in Toronto, I recreate those cherished moments with a twist crafting Instant Pot coconut yogurt that’s both vegan and delicious. This recipe blends the comforting simplicity I grew up with and the ease of modern-day cooking using the Instant Pot.
Why Choose Coconut Yogurt?
Coconut yogurt offers a luscious texture and a subtle sweetness, making it a favorite among dairy-free alternatives. The Instant Pot streamlines the fermentation process, making it easy to get consistent, reliable results every time. Plus, it’s a cost-effective and customizable option for those seeking a healthier lifestyle.
Table of Contents
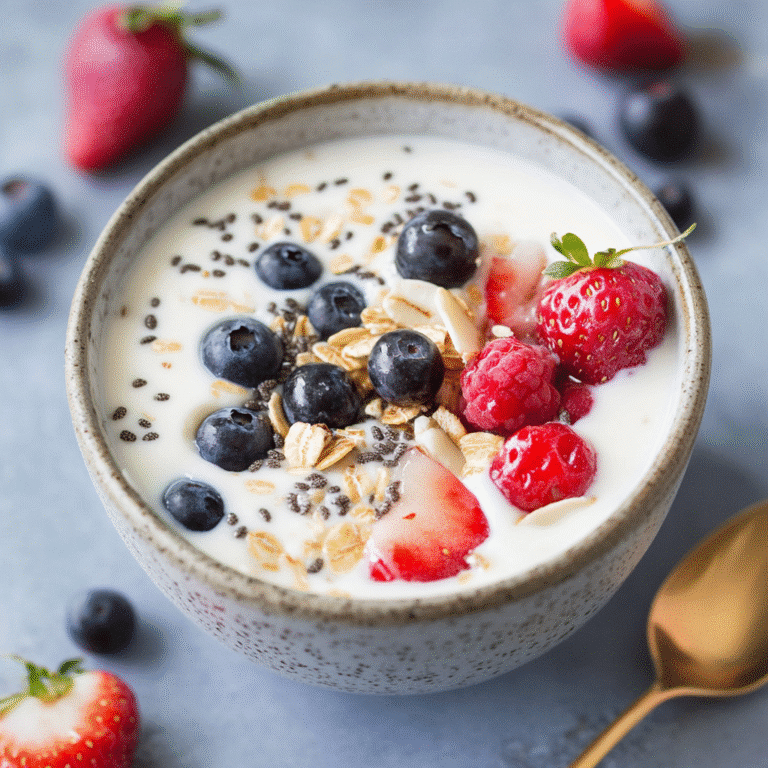
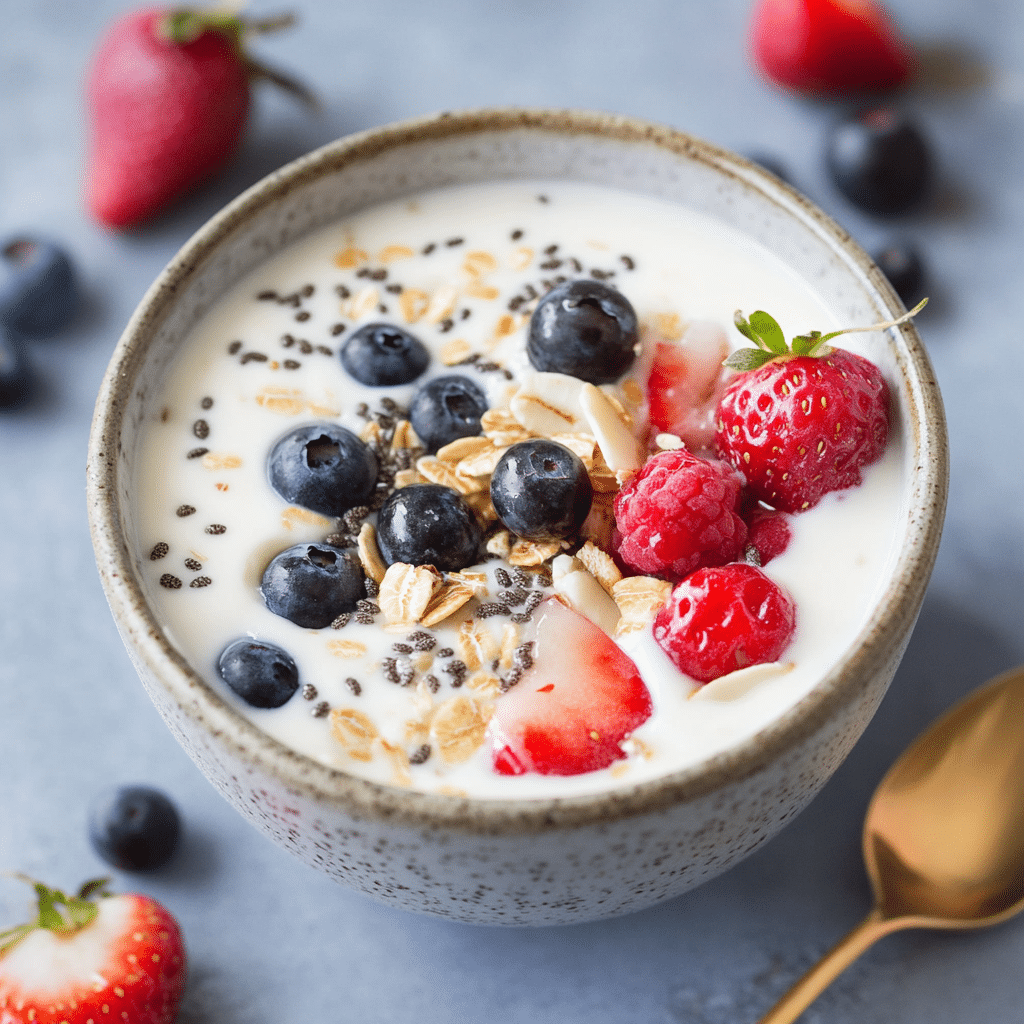
Instant Pot Coconut Yogurt: Creamy, Homemade, and Dairy-Free
Creamy, dairy-free coconut yogurt made effortlessly in your Instant Pot with just three ingredients.
- Total Time: 12 hours 10 minutes
- Yield: 4 servings
Ingredients
2 cans (13.5 oz each) full-fat coconut milk
1 tbsp agar agar flakes or 2 tsp agar agar powder
4 probiotic capsules
Optional: 1 tbsp maple syrup
Instructions
1. Shake and pour coconut milk into Instant Pot.
2. Heat on ‘Sauté’ to 180°F, stirring gently.
3. Sprinkle in agar agar, whisk until dissolved.
4. Cool mixture to 110°F.
5. Open probiotic capsules, stir into mixture.
6. Place lid loosely, set to ‘Yogurt‘ for 12 hours.
7. Transfer to jars, refrigerate 6+ hours.
8. Stir and add flavorings before serving.
Notes
Use high-quality, full-fat coconut milk.
Ensure all tools are clean to avoid contamination.
Ferment longer for tangier yogurt.
- Prep Time: 10 minutes
- Cook Time: 12 hours
- Category: Breakfast
- Method: Instant Pot
- Cuisine: Vegan
- Diet: Vegan
Nutrition
- Serving Size: 1/2 cup
- Calories: 150
- Sugar: 2g
- Sodium: 15mg
- Fat: 14g
- Saturated Fat: 12g
- Unsaturated Fat: 2g
- Trans Fat: 0g
- Carbohydrates: 4g
- Fiber: 1g
- Protein: 1g
- Cholesterol: 0mg
Why Make Instant Pot Coconut Yogurt
The Health Benefits of Coconut Yogurt
Coconut yogurt isn’t just a dairy-free alternative it’s a wholesome choice loaded with nutritional perks. Rich in healthy fats, coconut milk provides a satisfying creaminess while supporting brain and heart health. When fermented with probiotics, it turns into a gut-friendly powerhouse that helps balance digestion, boost immunity, and improve nutrient absorption.

Store-bought versions can be expensive and often contain additives, sweeteners, or thickeners that don’t suit every diet. Making Instant Pot coconut yogurt at home means you get to skip the fillers and enjoy a cleaner, more natural product tailored exactly to your needs.
Plus, the fermentation process boosts the yogurt‘s probiotic content, offering live cultures that support a healthy microbiome. That’s a fancy way of saying it’s good for your belly and your mood.
Naturally dairy-free and vegan, coconut yogurt is also a great option for people with allergies or intolerances. You don’t have to miss out on the creamy, tangy experience of traditional yogurt, and your body will thank you for the gentle ingredients.
Budget-Friendly and Customizable
Buying coconut yogurt regularly can quickly eat into your grocery budget. Homemade? It costs a fraction of the price per serving. All you need is a couple of cans of good-quality coconut milk and some probiotic capsules. The Instant Pot takes care of the rest.
Even better, you’re in charge of the flavor and texture. Prefer it tangier? Ferment it longer. Want it thicker? Add agar agar or strain it through cheesecloth. Like a touch of sweetness or a hint of vanilla? Stir it in after fermentation. You can also get creative with add-ins like lemon zest, warm cinnamon, or a swirl of berry purée for extra flavor.
This control over your ingredients means no more reading labels or second-guessing additives. Just pure, creamy, and personalized Instant Pot coconut yogurt that’s made to your taste.
How to Make Instant Pot Coconut Yogurt – Step-by-Step
What You’ll Need
Making your own Instant Pot coconut yogurt starts with just a few clean ingredients and some patience. Here’s what you’ll need:
- 2 cans (13.5 oz each) full-fat coconut milk (look for brands without guar gum or emulsifiers)
- 1 tablespoon of agar agar flakes or 2 teaspoons of agar agar powder, a plant-based thickener ideal for vegan recipes
- 4 probiotic capsules (make sure they contain live active cultures)
- Optional: 1 tablespoon maple syrup for light sweetness and to feed the probiotics
This setup is perfect for a small batch of creamy, tangy Instant Pot coconut yogurt that’s just right for breakfast or a snack.
Step-by-Step Instructions
Step 1: Heat the Coconut Milk
Pour the coconut milk into your Instant Pot. Use the “Sauté” function to slowly heat it to 180°F. Stir often so it doesn’t stick. This step sterilizes the base of your Instant Pot coconut yogurt and helps the thickener activate later.
Step 2: Add Agar Agar
Switch off the heat, then evenly sprinkle the agar agar over the hot coconut milk. Whisk continuously until it’s fully dissolved and smooth. This helps your Instant Pot coconut yogurt set with a creamy texture.
Step 3: Cool to 110°F
Let the mixture cool naturally to about 110°F. Maintaining this temperature is essential to preserve the effectiveness of the probiotics.
Step 4: Add Probiotics
Open the capsules and whisk the probiotics into the cooled mixture. This is the foundation of the yogurt’s fermentation process.
Step 5: Ferment in the Instant Pot
Secure the lid without sealing (no pressure needed). Select the “Yogurt” function and set the timer for 12 hours. Let the Instant Pot coconut yogurt incubate until it reaches your preferred level of tanginess.
Step 6: Chill to Set
Once fermentation is complete, transfer the yogurt to clean jars and chill in the refrigerator for a minimum of 6 hours. This will fully set your Instant Pot coconut yogurt to a luscious, thick texture.
Step 7: Stir, Flavor, and Serve
After chilling, you can stir your yogurt for smoothness. Add vanilla, lemon zest, cinnamon, or berry purée to flavor your fresh Instant Pot coconut yogurt to taste.
Troubleshooting and Expert Tips for Perfect Coconut Yogurt
Common Issues and How to Fix Them
Even though Instant Pot coconut yogurt is simple to make, a few hiccups can happen—especially early on. Here’s how to troubleshoot the most common problems:
Yogurt Didn’t Set:
If your coconut yogurt comes out runny, it’s likely due to the coconut milk used or an issue with the thickener. Always choose full-fat coconut milk without gums or emulsifiers, as these can prevent the yogurt from setting. If you’re using agar agar, make sure it’s fully dissolved at the heating stage, and consider increasing the quantity slightly in your next batch.
Strange Smell or Taste:
A sour or unusual odor may indicate the yogurt has been contaminated during the process. Make sure all your utensils, jars, and the Instant Pot inner liner are thoroughly clean and sterilized before starting. Also, double-check that your probiotic capsules contain live cultures and are not expired.
Gritty Texture:
This usually happens if the agar agar isn’t whisked in properly or if the coconut milk has separated. Heat and whisk slowly to ensure even texture, and give your yogurt a good stir after refrigeration to smooth it out.
Tips for Better Results Every Time
Use the Right Lid:
You don’t need to use the pressure-sealing lid. A glass lid or just resting the regular lid on top is fine. The Instant Pot doesn’t build pressure during the yogurt cycle it simply keeps the mixture warm for fermentation.
Stick with Reliable Coconut Milk Brands:
Not all coconut milk is equal. Opt for brands like Native Forest, Aroy-D, or Thai Kitchen (unsweetened, full-fat versions only). These work consistently well in homemade Instant Pot coconut yogurt recipes.
Let It Ferment Longer for Tang:
If you prefer a stronger tangy flavor, increase fermentation time to 14–16 hours. Taste it around the 12-hour mark and decide based on your flavor preference.
Store Properly:
Keep your coconut yogurt in airtight glass containers in the refrigerator. It’s best enjoyed within 7–10 days. Always use a clean spoon to avoid contamination.

For more recipes follow me in pinterest
Conclusion
Homemade Instant Pot coconut yogurt is one of the easiest and most rewarding recipes you can master in your kitchen. With just a handful of ingredients and a bit of time, you’ll enjoy a creamy, tangy yogurt that’s completely dairy-free and full of gut-loving probiotics. Plus, it’s endlessly customizablewhether you like it sweet, tart, thick, or light. After making your own, you’ll likely find store-bought versions just don’t measure up.
FAQs
How do you make coconut yogurt in the Instant Pot?
To make coconut yogurt, combine full-fat coconut milk with a thickener like agar agar, heat the mixture, cool it down, stir in probiotic capsules, and incubate using the “Yogurt” function on the Instant Pot for 12 hours. Then refrigerate until set.
Is making yogurt in the Instant Pot worth it?
Absolutely. It’s cost-effective, customizable, and healthier than many store-bought options. You control the ingredients, flavors, and thickness while saving money and reducing packaging waste.
What are the pros and cons of coconut yogurt?
Pros include its dairy-free nature, high probiotic content, and creamy texture. It’s ideal for people with lactose intolerance or those following vegan diets. Cons? It can be a bit thinner than dairy yogurt and may need thickeners to get the perfect texture.
Do you seal or vent the Instant Pot when making yogurt?
Neither. When making yogurt, you simply rest the lid on top without sealing it. The yogurt function doesn’t use pressure it maintains a warm temperature for fermentation.